Aux-In for BMW Professional RDS Radio
TracNav
- Home
Hardware
- Reverse Engineering
- Encoders (code)
Manufacturing
Development
- First prototype
- Second prototype (SMD version)
- Emulating MID
- HW1.0-beta1 (third revision)
- HW2.0 (4th revision)
CarPC
Software
Stuff
User projects
OpenBM is a device which will work for video output in my car. So in order to complete the CarPC installation also sound is required. For this purpose there are two possibilities, you either reuse original BMW equipment or you put everything new. I decided for the first case, because I want to have the CarPC installation as seamless as possible.
There is a nice manual in the internet, showing the same as described here, however for another radio, click here.
Basis
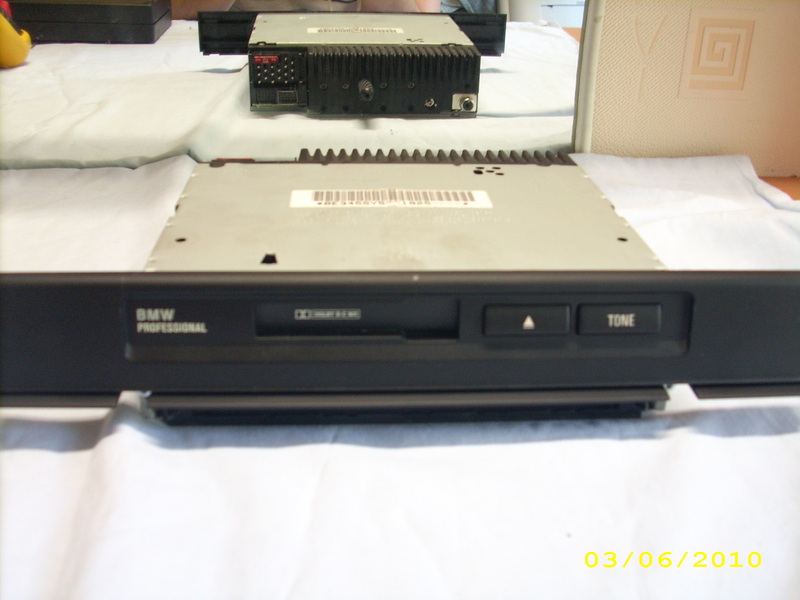
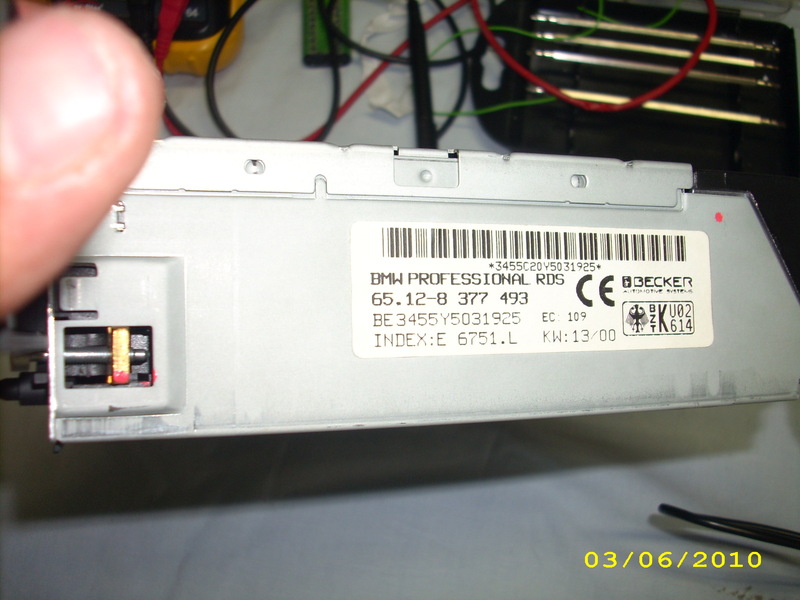
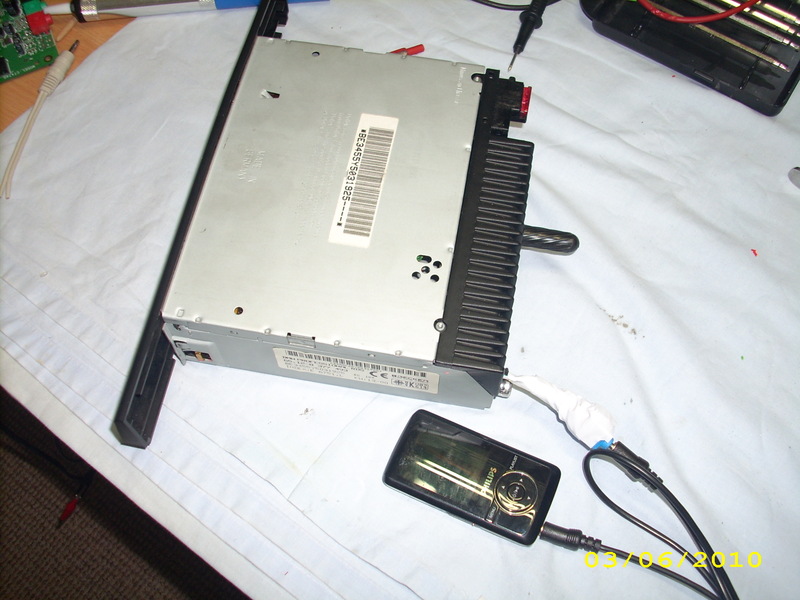
Given an BMW Professional RDS radio, I would like to feed it with an additional sound source, i.e. CarPC. The radio, which I am talking about is this one:
Please note if you have already a bordmonitor in your car, then you have either an BM24 or BM54 radio, which is placed in the back of your BMW. In my situation the radio is combined with a TAPE and in the trunk, I only have a CD-Changer. In the internet you can find adapters, which emulate CD-Changer and provides you with a stereo aux-in support. Since, I already have a CD-Changer and didn't want to loose it, I decided to use TAPE device for the input source from CarPC. Given that, one can use original BMW amplifier for the CarPC sound as also don't loose the radio,
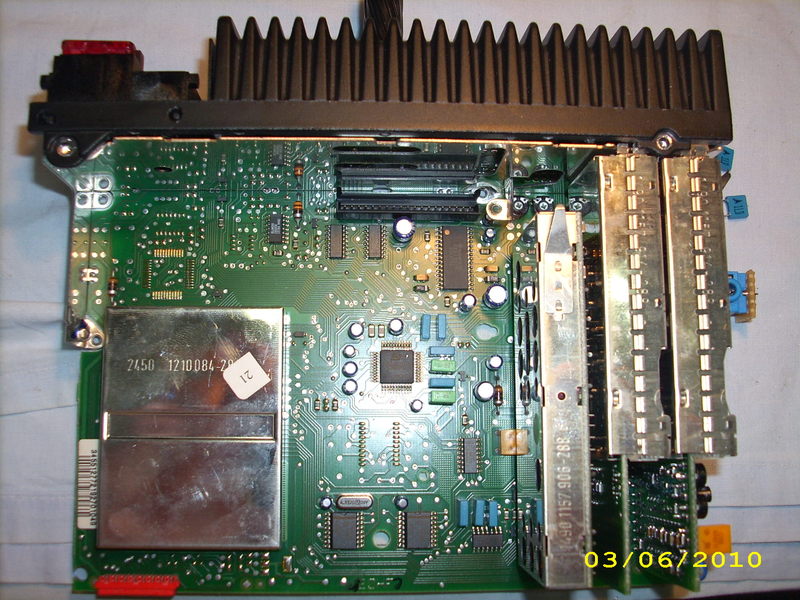
Note: the inside pcb is different depending on the manufacturer of the radio, however in its general functionality they are all the same.
Installation
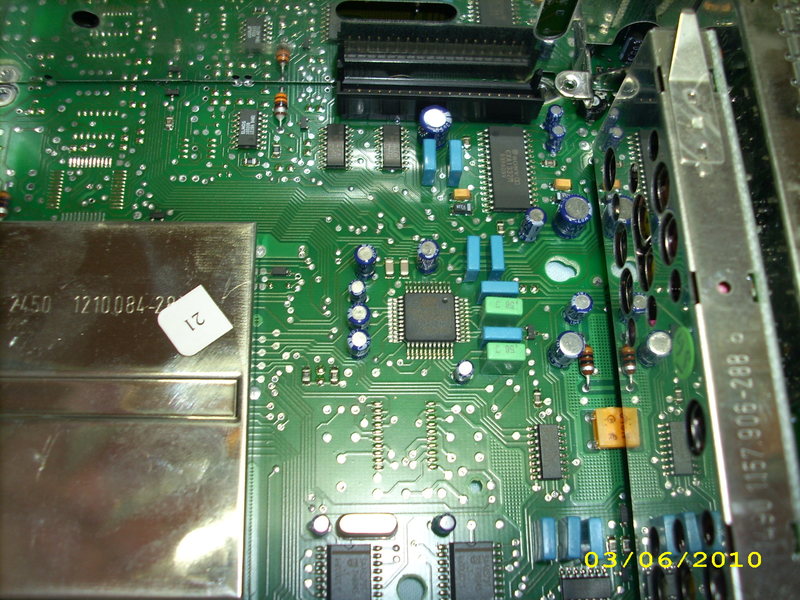
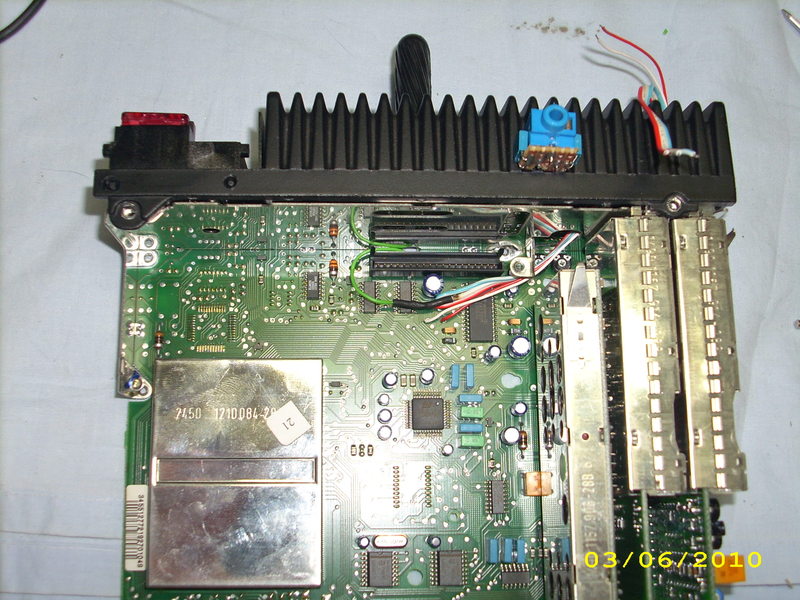
In the center if the next picture, we can see the TDA7310 microship. This is some kind of an audio source switcher combined with rudimentary equalizer functionality. The IC does support 4 audio inputs plus additionally an extra differentated input for external sources. The CD-Changer is connected as an external source to the radio. The other input sources are, Tape, FM and AM receivers. The perfect solution would be to write new firmware for the Radio to allow an access to the 4th source, however this would be very hard work to do. I assume on New-Generation radios from 2002 the firmware was changed in that way, to give access to AUX-IN port.
At the top we see two rectangular, blue capacitors. Just right to them there is a Sony's Dolby microchip to cleaning up signals coming from the tape head. To loop in our new external source, we connect us between this Dolby IC and the TDA7310. For this you have to solder out that both capacitors and replace them by a wiring going outside of the radio. This wirings are connected to a jack plug. Jack plug provides us with the capability of stil being able to use the tape if nothing is connected to it. Ok, now both capacitors are connect in sequence to the jack plug and this wirings. In the manual linked in the beginning, you can see a schematic overview, how you should solder it together.
The ground pin of the jack plug should go somewhere to the GND on the main board of the radio. I used for this the Pin17 of the TDA7310 IC.
Test
A test after everything is soldered together with a simple MP3 player. Works perfect! The nice thing, that this solution is better than any kind of FM-Transmitters or Dummy-Tapes, because the signal goes directly to the sound mixer IC. Finally you should take an old cassette and remove the tape out of it. Put this cassette into the TAPE slot, otherwise the radio firmware will disable tape sound, when it detects that there is no cassette inside.
![(please configure the [header_logo] section in trac.ini)](../../../../www.tevs.eu/media/images/projects/openbm_logo.png)
